Monday, April 10, 2017

Dinner Rolls

So last night the hubby was going through Facebook videos on our new Facebook video app on our AppleTV. One of the videos we watched was about baking simple dinner rolls! I think I woke up with that on my mind today and decided to look a recipe up on Pinterest and do it!  It was a very easy recipe but took time to let the dough rise. They turned out WONDERFUL, so I thought I'd share the recipe!

Deena saw me starting to bake and wanted to join in on the fun! We got out her play dough tools and she had fun making her own "bread" :)

Here's the Pinterest recipe I used:
https://www.justapinch.com/recipes/bread/other-bread/old-fashioned-soft-and-buttery-yeast-rolls.html.amp


Here are some pics of how it turned out!


Dinner rolls fresh out of the oven!

Deena's formed dough ready for the oven!


Deena forming her own dough, my dinner rolls lined up ready to rise again


Friday, March 31, 2017

Rosemary Lemon Cake

I've had this recipe saved in my Pinterest account for a long time now.  I remember reading the steps when I first Pinned it and thinking "this is way too much work"!  So I saved it and never really looked at it again...until about 2 days ago.  Our family woke up to some very sad news, that our dear friend Rosalee had passed away.  She was always full of energy and in good spirits, she was happy and healthy, and then one day, she found out she had stage 4 pancreatic cancer.  She had been suffering for a while and then we got the news.  I had a heavy heart the morning I pulled out this recipe and I thought to myself that I'd make this recipe with all of its steps as way of dealing with the sad news.

This cake has so many steps because it's meant to be light and airy, sweet and tart, all at the same time.  I thought it was a perfect way to deal with my feelings, and the little one wanted to help!  This was my first time making a meringue and actually folding it into the cake batter. It was also one of the very few times I actually made my own cream cheese frosting. I almost ALWAYS skip this part and just buy the frosting because it's so much easier.  I decided today to go through all of the steps and do it all :)

The cake actually turned out to be fabulous!   I love that it had lemon and Rosemary that I was able to grab right out of my garden!


Here is the Pinterest recipe I followed:
http://bakerbettie.com/fluffy-lemon-rosemary-layer-cake/

Here are pics of all of the steps:

The completed cake!!!
Our friend Rosalee, May she Rest in Peace

Out of the oven


Batter with meringue folded in

Batter - the green specs are the Rosemary

Meringue with stiff peaks

Deena helping me out!!!

Tuesday, March 7, 2017

Zucchini Lasagna!

It's been a WHILE since I've blogged! We've been doing A LOT of traveling and I've had my parents in and out of town (cooking for us!!!) and so I haven't had a chance to blog lately!  I decided to make an old favorite today and know I haven't blogged about this recipe before, so I thought I'd share it!

In my mission to cook good, fairly healthy food, I discovered this pasta-less lasagna recipe a few years ago.  It's actually sooooooo good that you don't even miss the pasta.  Now, this is a big deal for me to say because I LOVE all things starchy (bread, potatoes, pasta, rice....yum!).  But to not miss the pasta?????  It's THAT good!


Now, there are several little tricks that I've discovered along the way to make this recipe really good.  Trick #1, if you don't have a mandolin - get one!  It makes cutting the zucchini into even slices soooooo much faster and easier.


Trick #2, you HAVE TO remove the excess water!!!!  In a traditional lasagna, the pasta absorbs all the water created by the veggies and that's what helps cook the pasta. In this recipe, there is NO PASTA and so the water just accumulates around the sides and corners of the dish.  I always leave a space at the end of the dish I'm using for the water to accumulate in which means DO NOT pack the entire dish with the zucchini and lasagna ingredients.  I've found it to be soooooo much easier to remove the water by using a turkey baster!  Yes, a turkey baster!  Now there's one other time a year you can use it!  I remove the water about half way through cooking and then again after the lasagna has had time to rest.  Which brings me to Trick #3 - you MUST let the lasagna rest.  I'd say at least an hour!  This will allow more water to release and will also help the lasagna bind!  This is one of those dishes that even better the next day too!

Now for the recipe.  I don't have a Pinterest one to share for this because I saw it on TV one day and just replicated it myself, but I've checked and there are tons of Pinterest recipes out there if you need another guide! Just fyi - I used 4 zucchinis for this recipe!

Here's what I do:

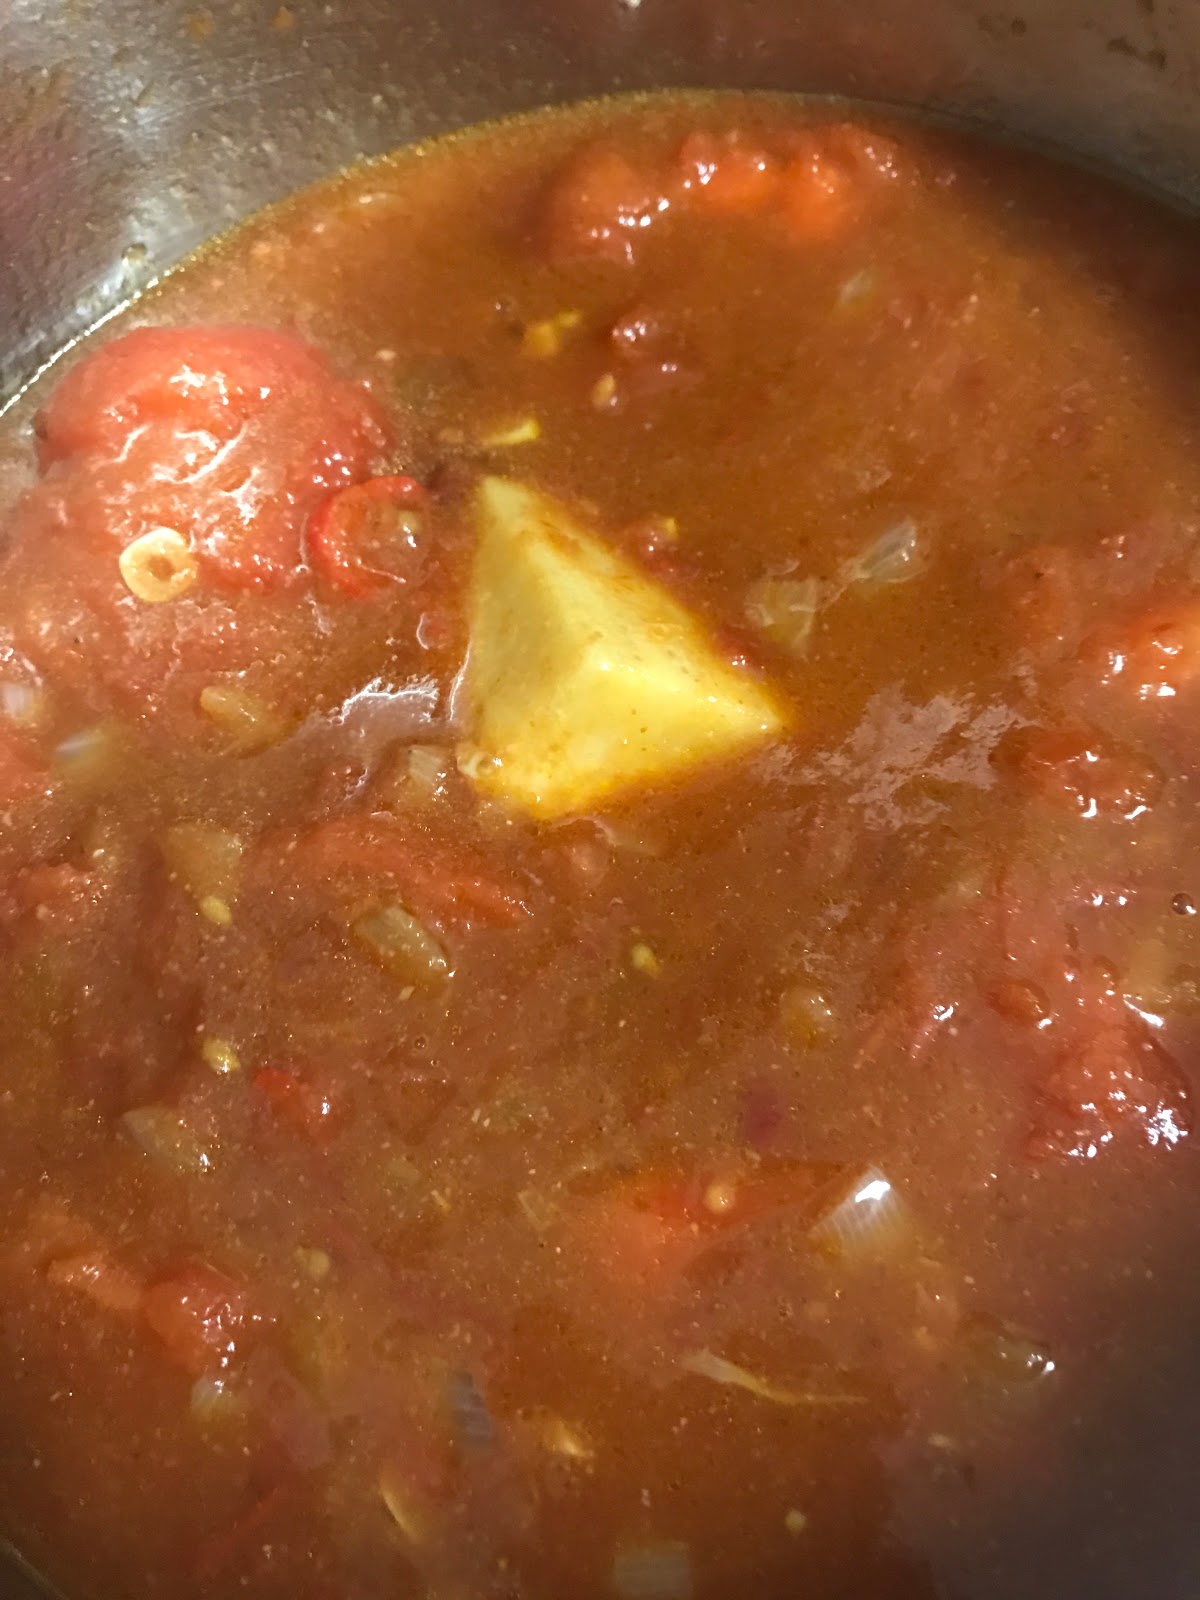
1.  Make the meat sauce!  It is super important to make the meat sauce the way you and your family love it!  It's the center of the dish and it's why I think my lasagna tastes sooooo good!  I make mine from scratch by grated an entire onion over a package of 80% ground chuck in a pot.  I add salt, pepper, cumin, a touch of cinnamon, a bay leaf, and a bouillon cube to it and allow it to cook down.  Once the meat has turned brown, I add a can of crushed tomatoes, a can of tomato paste, and some brown sugar.  I stir all the tomato in and then allow it to simmer for about a half an hour and then remove the bay leaf.

We like to use this bouillon instead of the Maggie cubes whenever we can


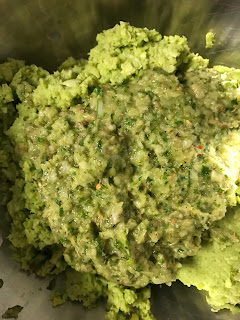
2.  Chop up all the veggies your family likes.  I usually use up whatever I have in the fridge.  Chop them into smaller pieces so that they make a similar sized layer of veggies.  For the one I made today, I had mushrooms, tomatoes, onions, parsley, and some sweet peppers.  I place all the veggies I chop up into a bowl together.  I have a veggie seasoning that I like to use and sprinkled that over them veggies and stirred them up.


3.  Slice up the zucchini using a mandolin!  This makes nice, even pieces to help you layer your lasagna.  You are using the zucchini slices INSTEAD of the lasagna pasta, so make sure they're not too thin and give you a little bit of a bite while eating the lasagna.  This actually makes you feel like there's pasta in it when there's not!


4.  Layer your lasagna!  Spray your dish so that nothing sticks to the bottom then add a thin layer of sauce to the bottom of the pan.  Layer the zucchini down first, top it with the seasoned veggies, add a layer of meat sauce, then top with a layer of cheese (I like to use a mix of cheese - I used parmesan, cheddar, and mozzarella.  If your family likes ricotta or just mozzarella - go for it!).  Then repeat these layers one more time.  Top the lasagna off with another layer of sliced zucchini, a thin layer of sauce, and some cheese.


5.  Bake at 375 degrees F for about 45 minutes.  Make sure to check half way through to see if you need to drain some of the water.

6.  Allow to sit for about an hour and remove water as needed.

My lunch today!  After having the lasagna rest for about an hour and a half!


Saturday, January 21, 2017

Ta3meya!!!!

While at the local market last weekend, my husband and I found fresh fava beans and so I decided to get some to make falafel for us!  We usually end up using the boxed falafel mix that we get from the Middle Eastern grocery store and then adding our own spice mixes to it.  To be honest, it's never me that makes it, but usually my dad!  He's great at it and they always turn out great.  My mom always makes the tahini sauce to dip them in.  But today, I decided to give it a shot myself!  A few years back, my sister made them from scratch and gave me the recipe her mother in law gave her.  I used that recipe along with a Pinterest one I found as a guide.  Another thing that I discovered while looking up recipes and talking to my sister, was that falafel and ta3meya are NOT the same thing!  I always thought they were and usually just used the term falafel with my North American friends because I knew they would understand that.  But, I came to find out, that they are NOT the same.  Falafel is actually just made with chick peas, but the traditional dish made by Egyptians, is made only with fava beans.  Many cultures actually mix both fava beans and chickpeas to make theirs!  Who knew?!?!?!?

My husband gave today's breakfast a rating of 11 out of 10 today!  He was VERY happy with how the ta3meya turned out!

Here is the Pinterest recipe I used as a guide:
http://www.mamaslebanesekitchen.com/mezza/falafel-from-scratch/#sthash.fSSfauoS.dpbs

Now, I thought 2 tablespoons of salt was waaaaayyyy too much and so I put in 2 teaspoons of salt.  Unfortunately, this was still waaaaayyyy too much for us and so I ended up adding a canned of pureed chickpeas to the pureed fava bean mixture to even out the salt.  This worked perfectly, but I would have preferred to make this the traditional way without the chickpeas. The tahini recipe was what I followed, but I also added some olive oil, a little water, and some parsley to it!

My sister's mother in law's recipe also called for adding an egg to help bind the balls and so I did go ahead and add that too.  I found the mixture to be a little soft and had to add more flour in order to form the balls and found that flouring my hands also helped to form the balls.

To go with the Ta3meya, I made a traditional Middle Eastern salad of cucumbers, tomatoes, and red onions, and of course, got some pita bread!

Here are some pics of my recipe today:
Completed dish for breakfast this morning!

Ta3meya fresh out of the fryer

Rolled mixture on a floured plate

Going into the deep fryer

Tahini dressing

 After mixing and adding pureed chickpeas
Herb and spice mixture over the fava bean mixture


Pureed fava beans

My little one helping me shell the fava beans!

Thursday, January 12, 2017

Tomato Soup

I want to start this by saying I'm NOT a soup person!  I think I've written about this before, however, there are a few types of soups I truly enjoy!  One of them happens to be Tomato Soup - but I'm VERY picky!!!!  I absolutely LOVE the way the restaurant The Smith in NYC makes their tomato soup and since I can't get that here in Jacksonville, the next best thing for me is Panera's.

I've never made tomato soup before and decided to give it a shot today!  I didn't use one specific recipe, but instead, blended a few different ones.  It turned out great, but.....not The Smith's.  As I've also stated previously, I don't really go grocery shopping to get ingredients for a recipe and sort of work with what I have at home instead.  This may be why the soup didn't turn out exactly like The Smith's! LOL!  Next time, I'll try to get the right ingredients.  First of all, I didn't have canned, peeled tomatoes. I decided to use some crushed tomatoes I had and broil 3 of my regular tomatoes, remove the skin, and add them to the soup.  I also didn't have half and half and instead used the whole milk I had in the fridge.  One recipe said to use a parmesan rind (which I DID happen to have) and another said to add a bay leaf....I did both of these things!  I also added a bouillon cube for flavor as well as some garlic and onion powder.

Here are the three recipes I went back and forth with while making it today:
http://www.thriftydiydiva.com/copycat-panera-bread-creamy-tomato-bisque-soup-recipe/

http://www.foodnetwork.ca/recipe/creamy-tomato-soup/11926/

http://citycookin.com/roasted-tomato-soupthe-smith/
I found this recipe after I had already started making it the other two ways....next time I might just give this one way a shot!

Here are some pics of the soup:


After pureeing and putting back in the pot with some milk

Placing in the Vitamix

Grated parmesan for garnish

Placing the roasted tomatoes in the stew with the parmesan rind

Crushed tomatoes, onions, garlic, and chicken broth

Tomatoes fresh out from under the broiler

Leave out the tomato skin!!!


Tuesday, January 10, 2017

Mediterranean Flavors!

After living the island life for the last two weeks and being lucky enough to have others cook for me or eat out, it's time to get back on track and back to cooking!  I'm not one of those people that looks at recipes first and then buys those ingredients when I go to the grocery store.  I usually stock up on the basics and lots of fruits and veggies when I go to the grocery store and THEN find recipes to match the ingredients I have on hand.  While searching through Pinterest today, I came across this recipe for eggplant and a mediterranean salad that looked great!  I decided to give it a try today!

Here's the Pinterest recipe I used:

Here's how it turned out!